John Deere 2510S Strip-Till Residue Master™ Applicator
Floater Chassis
Your Preferred Location
Features
-
Number of Rows: 12, 16
-
Engine hp Needed: 25-50 hp/row
-
Season: Pre-plant /Post-harvest
Seedbed preparation
Experienced operators know there is one shot at preparing the seedbed in a strip-till application. Once the residue has been properly managed, the following components must be working together:
- The spring-cushioned nutrient shank needs to be operating at the proper depth to lift an adequate amount of soil to be brought back in to form the strip. The shank must also have enough spring pressure to maintain its depth to keep a consistent amount of soil being disturbed.
- As the nutrient shank lifts the soil, large adjustable closing disks are needed to bring the soil back into the strip and prepare the seedbed. Soil types and moisture content can greatly affect the amount and consistency of the soil that is brought back in. The closing disks need to have adjustments for side to side, pitch, and vertical position as hard soils flow differently than soft soils. Improperly set closing disks may not grab enough soil to build the berm and the end result before planting could be a valley where a mound should be.
- For some producers, the last step in seedbed preparation is using a rolling basket to size and shape clods and firm the berm. In high-residue conditions, the row cleaners move a lot of residue between the rows that can hang up and plug on the baskets. It is important the baskets are able to flow residue and condition the strip.
Transport dimensions, spacing, and horsepower requirements
762-mm (30-in.) spacing
Size | Transport width | Transport height | Horsepower (hp) requirements | Notes |
12 row | 5.33 m | 3.91 m | 25 hp to 30 hp per shank at 152-mm to 203-mm | 425 engine hp minimum recommended if utilizing |
16 row | 5.77 m | 4.17 m | 25 hp to 30 hp per shank at 152-mm to 203-mm | 475 engine hp minimum recommended if utilizing |
Transport of 16 row
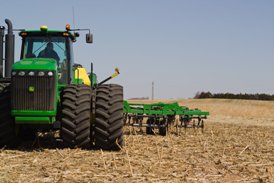 16-row Residue Master™ folding
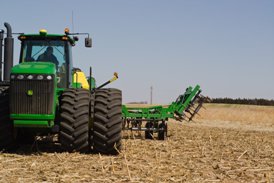 16-row Residue Master folding
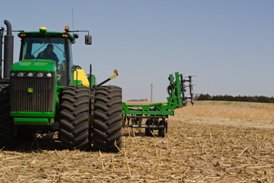 16-row Residue Master folding
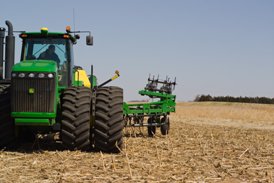 16-row Residue Master folding
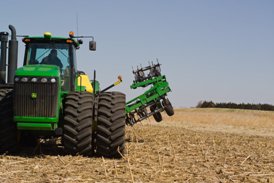 16-row Residue Master folding
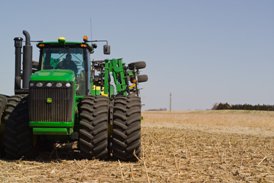 16-row Residue Master tightly folded
Three-year warranty offered
The three-year warranty on any 2510 covers:
- All frame members including depth control wheel modules (weldments and tubes), wing-fold components, the front hitch, gang bolts, and spools
All other components (disk standards, hydraulics, electronics, safety lights) and attachments, such as rear hitches, are under warranty for one year as the warranty definition has not changed. The same exclusions and administration as defined in the Warranty Administration Manual applies.
The following items are not under warranty:
- Wear items such as blades, pins, hinges, hitch link, hub, and plug-in spindles
- Breakage due to rocks
- Abuse or lack of maintenance
- Use of unapproved attachments, such as tanks and rear hitches by other manufacturers
- Failure to follow operator's manual recommendations
Dura-Flex™ bearings will continue to have a two-year warranty.
Understanding strip till
Producing more work out of every liter or gallon of fuel is imperative for boosting the profitability of farm operations. Strip till is one practice seeing significant growth due to the following:
- Efficient nutrient placement
- Seedbed preparation (warmer, dryer soils)
- Increased water infiltration
- Decreased soil erosion
- Reduced compaction
- Moisture conservation in arid climates
- Ability to maintain or increase yields
What is strip till?
Strip till combines the soil drying and warming benefits of conventional tillage with the soil-protecting advantages of no-till by disturbing only the portion of the soil that is to contain the seed row.
This is done by tilling a strip of soil 203 mm to 254 mm (8-in. to 10-in.) wide in the fall or spring to prepare a seedbed, leaving the rest of the soil surface undisturbed.
Corn grown in a strip-till system consistently yields as well as corn grown in a conventional-till system and can yield better than no-till corn crops planted on the same date, according to research by agronomist Tony Vyn of Purdue University.
Not only is strip till a conservational type of tillage, but it also allows farmers to apply recommended rates of fertilizer in a zone from 152 mm to 203 mm (6 in. to 8 in.) deep in the same pass. A narrow knife forms a small tunnel underneath the soil, trapping the fertilizer (dry, liquid, or gas) in a zone for the next crop to utilize.
This tillage strip and placement of fertilizer is followed by the planter, in the same direction, for best crop utilization. In many situations, producers moving from conventional tillage to strip till have found a reduction in trips across the field by as many as four trips.
Strip-till challenges
For some producers, strip tilling is a fall practice with a small application window before the ground freezes. For others, the choice is spring strip till with an equally small window before the start of planting.
As with any farming practice, strip till has challenges that producers need to address:
- Potential short application window
- Consistently following the strip with the planter
- Consistently managing large amounts of residue
- Proper nutrient placement
- Properly preparing a consistent seedbed
Machine adjustments
The ability to adjust a machine as conditions change is key to productivity and top performance. The 2510S Residue Master™ utilizes many components producers are accustomed to as well as many innovative adjustment:
- Fore to aft
- Turnbuckle on the T-hitch uses an on-board wrench for leveling front to rear. A few turns in either direction raises or lowers the front of the machine.
- Single-point depth control
- Overall operating depth is set at one location on the front of the machine by turning an adjustment rod.
- Side to side
- Leveling the machine from side to side is done on top of the frame at each wing wheel module with an adjustment wrench and cylinder eye bolt.
- Front coulter gang
- Operating depth of the 635-mm (25-in.) coulter gang is set by adjusting the inside hydraulic valve located on the front of the machine and making use of continuous hydraulic pressure. By increasing pressure, the operating depth is increased as well.
- Row cleaners
- The 406-mm (16-in.) row cleaners can be adjusted from disengaged (fully raised) to engaged (fully lowered) or anywhere in between utilizing a 30-mm socket and screw adjustment. An indicator ensures consistent adjustment from row to row.
- Closing disks
- There are three different adjustments for the closing disks:
- Vertical position of the closing disks
- Pitch of the blade
- Side-to-side position
- Operating depth of the closing disks are set by using cylinder stops in combination with adjusting the outside hydraulic valve located on the front of the machine and making use of continuous hydraulic pressure. By increasing pressure, the operating depth is increased as well.
- There are three different adjustments for the closing disks:
The pitch of the blades and side-to-side position is adjusted by moving hardware to various bolt positions.
Maintenance-free bearings
High-density polymer bearing sleeves
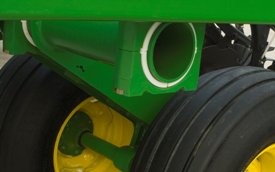 High-density polymer mainframe rockshaft bearing
Owners and operators alike have expressed the need to reduce the time required for daily maintenance. Applicators also do not like to crawl under the machine to grease the rockshaft bearings.
The 2510S Strip Till employs a high-density polymer bearing sleeve in each of the heavy-duty rockshaft arms for the mainframe, wing frames, and rear hitch.
The poly sleeves reduce the friction, wear, and force needed for operation. The result is a maintenance-free bearing (no greasing) with increased reliability.
Frame depth
The next level of frame technology has been introduced into the frame of the 2510S. Cast-steel saddle joints connect the 102-mm x 152-mm (4-in. x 6-in.) frame tubes and provide the backbone and support needed for the required speeds and loads of the strip-till unit.
A fore-aft frame depth of 2.36 m (93 in.) is unmatched in the strip-till market and provides the clearance necessary to flow residue in high-yielding corn-on-corn applications.
An adequate distance between the front coulters allows the residue to settle down before it gets to the row cleaner.
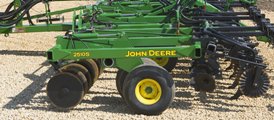 2.36 m (93 in.) of frame depth
Equipped for safe operation and transport
The 2510S is equipped for safe operation and safe transport with the following base equipment:
- Slow-moving vehicle (SMV) emblem
- Hydraulic transport-lockup valve
- Hitch-safety chain
- Implement warning lights
- Reflective decals
2510S Residue Master™ pictures
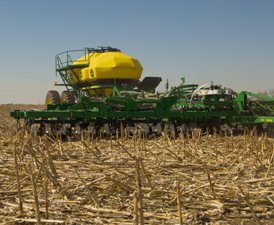 Coulter gang sizing residue
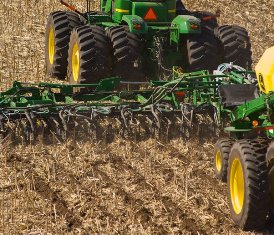 Strips behind 16-row Residue Master
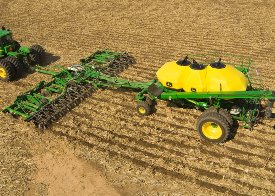 16-row Residue Master with tow-behind cart
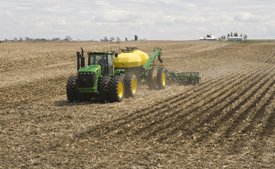
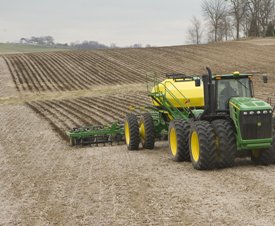 12-row Residue Master in soybean stubble
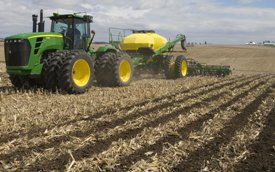
 12-row Residue Master in corn stubble
 Strips in corn stubble
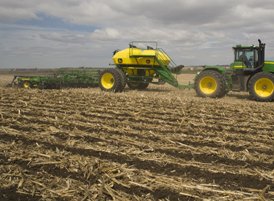 Tow-between 1910 Cart and Residue Master
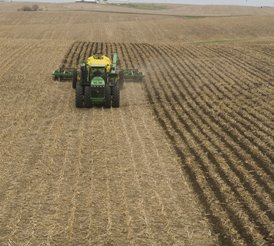 Strips in corn residue on rolling terrain
Excellent residue handling
Consistency is extremely important in all aspects of the farming operation: emergence, seed spacing, chemical application, corn head/platform operation, and chaff distribution.
That goal is not to be lost in strip-till residue management.
The biggest challenge is in high-yielding corn-on-corn acres. And with these acres on the rise, it is very important producers understand what goes into successfully managing residue.
In theory, the crop would be standing perfectly at harvest, and the combine would aggressively and evenly distribute residue across each and every field, which would virtually eliminate the need for adjustments to be made to the strip-till unit.
In reality, this is not always the case as down crops, worn combine parts, and varying moisture levels in the residue all play a role from field to field.
This creates a challenge to consistently manage residue in a strip-till application, because inconsistencies in the residue lead to inconsistent seedbeds, planter performance, plant stands, and eventually yields.
What does it take to manage residue?
Creating a strip that is free of residue is the first step in seedbed preparation. Producers know the challenge of slicing a thick mat of soybean residue one day, moist cornstalks the next day, and then moving into dry residue the following day. Producers must have:
- Properly adjusted and operated combine
- Large front-cutting coulter has more cutting edge than a smaller one to grab, trap, and cut residue. Dry residue has to be managed differently than wet residue—coulters usually need to be set shallower to grab and cut the fluffy stalks. Wetter stalks may require the coulters to be set deeper to chase that stalk down into the soil and prevent hairpinning. If stalks are not cut properly, residue that is not sized can cause plugging in the components on the rear of the machine and create difficulties for the row cleaners.
- Deep frame to allow enough clearance for the residue to settle down before it gets to the row cleaners. Field cultivators today have much deeper frames than 10 and 20 years ago for one simple reason: better residue flow.
- Large, aggressive, adjustable row cleaners. Residue that is not moved out of the row can get wrapped around the nutrient shank and mixed into the seedbed, causing inconsistencies in seed placement and emergence. Row cleaners that are set too deep and constantly gouging the ground throw too much soil in between the strips.
Consistent residue management is achieved through proper adjustments of heavy-duty components.
See the ground-engaging and frame sections of the sales manual for more details on the key components to managing residue.


